“You don’t take a photograph, you make it.” ~Ansel Adams
Photography is a fun and relatively easy hobby to get into, but just like any art, photography has tricks and techniques. Imagine a painter who does not know which paper to use with each paint. The artist could still create a painting. Along with this, luck could make the painting turn out perfect. In the long run, however, the artist would benefit from knowing more about the tools they have to work with.
The same concept applies to photography. You can put a camera on Automatic of course, but the final product improves when you know what “tools” that you are working with. This being said, let us take time to look at each of your “tools”.
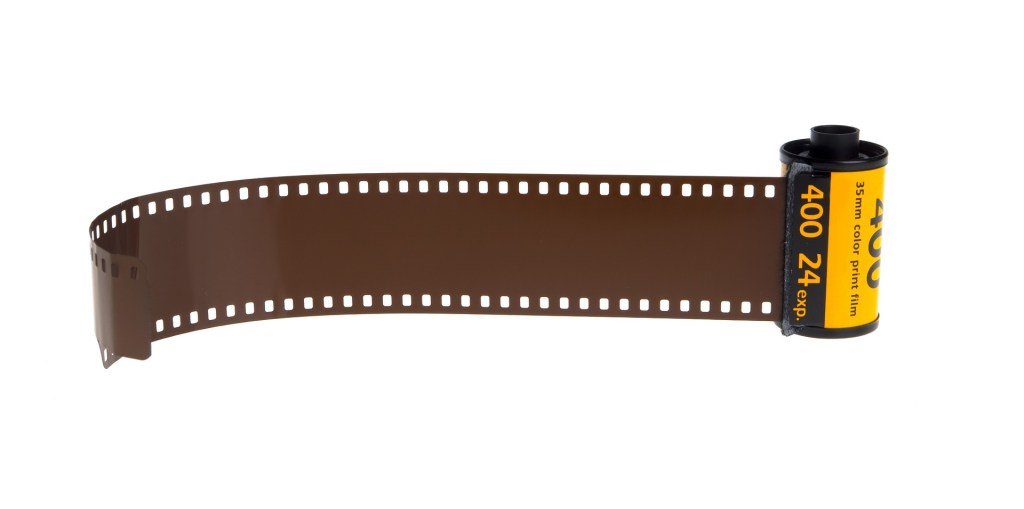
ISO: The ISO traditionally has to do with the film itself in old cameras. People using film cameras bought rolls of film with different ISO. In the digital age, however, you can change it with the click of a button.
A low ISO (e.g. 100 & 200 ISO) is for brighter settings. If you are outside on a sunny day, this might be the ISO for you. A lower ISO also means “finer” grain. This means pictures will be crisper.
A high ISO (e.g. 400 or 800 ISO) allows you to shoot in darker settings. It is also good if you need a small F-stop and fast shutter speed (we will discuss this more soon). However, higher ISOs appear to be “grainier” or less crisp.
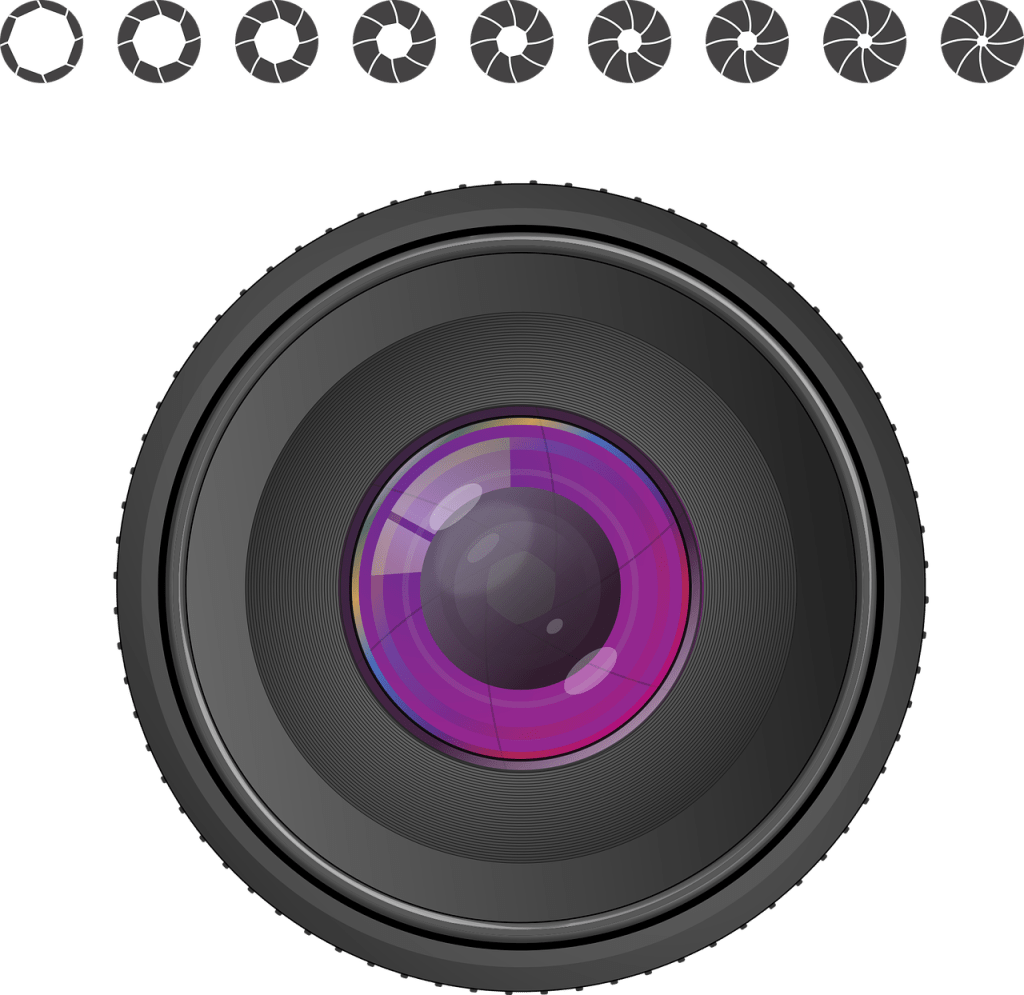
F-Stop/Aperture: The aperture in a camera is normally found in the lens. Think of this as the camera’s pupil. The F-Stop setting allows photographers to change how large or small the pupil is.
A high F-Stop (e.g. f/22) means a smaller aperture. This lets in less light, and it increases the “Depth of Field”. The depth of field is how much of a picture is in focus. Is the flower in a picture crisp but the background blurry? That is a low depth of field. Is the entire photo crystal clear? That is more than likely a high depth of field.
A low F-Stop (e.g. f/4) means a larger aperture. This lets in more light and decreases the depth of field. Why would anyone want part of their picture to be blurry? A blurry background can help draw attention to the focal point of a picture.

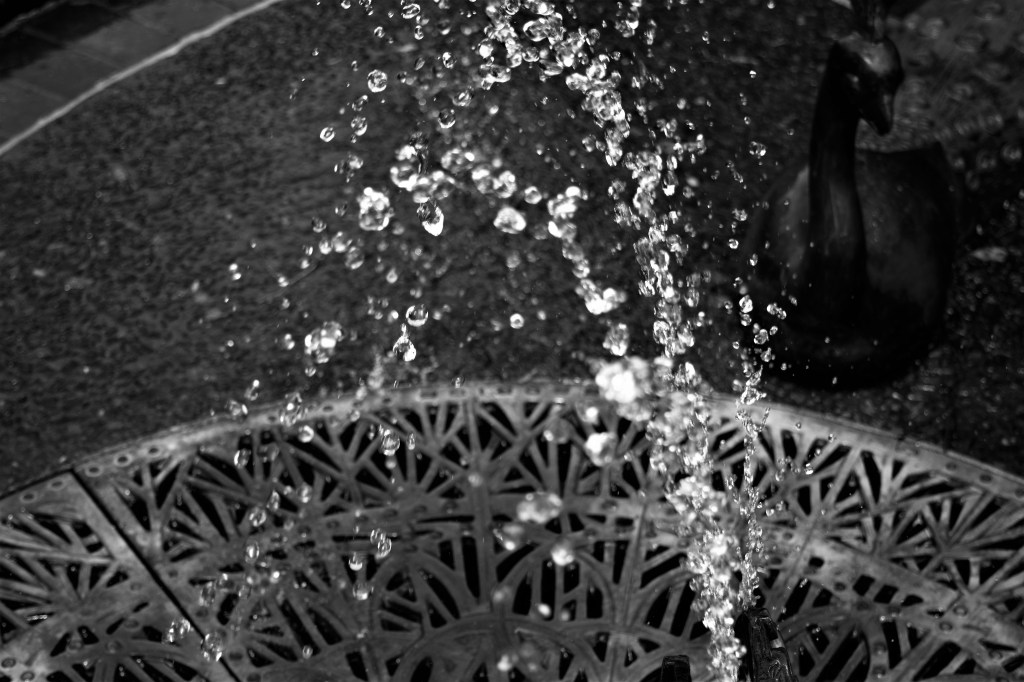
Shutter Speed: The shutter speed determines how long your picture is exposed to light. The shutter speed also determines the motion in a photograph. Imagine a picture of a fan. If taken quickly, the fan will look still. If it takes a long time, however, the fan blades may appear to merge together.

A fast shutter speed (e.g. 1/500) lets in less light. Higher speeds also can “freeze” a moment.
A low shutter speed (e.g. 1/4) gives light more time to come in.
Note: The lowest shutter speed for holding a camera by hand is around 1/60. Anything lower than this should be mounted on a tripod to prevent blurriness.
And those are the three major tools photographers use. By practicing with each one, beginning photographers can understand exactly what “tools” they need to capture that perfect picture.
